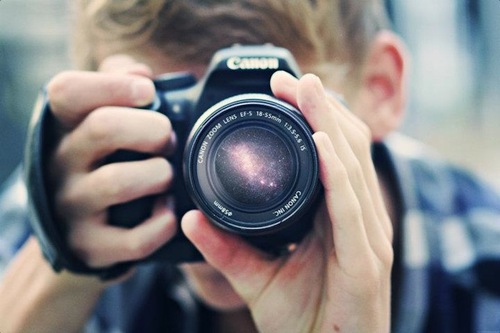
One of the most common ways in which photos turn out badly is because they appear blurry. Normally this takes place either due to the fact that there were issues with the focus because the camera was moving or shaking, or because there wasn’t sufficient lighting in the scene.
As much as it can be frustrating when a perfectly good shot is ruined because it looks blurry and indistinct, the fact of the matter is that it is possible to fix it. More importantly if you use Movavi Photo Editor it will be downright easy for you to learn how to fix blurry pictures – and will take just a few minutes of your time.

Assuming you already have a blurry photo that you’d like to fix, just open Movavi Photo Editor and load it by clicking on the ‘Browse for Images’ button. If you prefer you could drag and drop the file into the main window, which may be a little bit faster at times.
To begin fixing your blurry photo, open up the ‘Adjust’ tab in the panel at the top. When you click on it Movavi Photo Editor will open a panel on the right side that has a variety of tools, and you should look for the one labeled ‘Sharpness’ and adjust its slider to get rid of the blurriness from your photo.
In addition to the ‘Sharpness’ slider, you may want to experiment with some of the other sliders to improve the quality of the image further. Within that panel of Movavi Photo Editor you’ll be able to adjust the brightness, contrast, hue, temperature, highlights, and a variety of other color settings. The ‘Magic Enhance’ tool may be particularly useful, as it will automatically improve the quality of your photos with a single click.
Once you’re done you may then want to look into the other features of Movavi Photo Editor and apply them as well. To be more specific you could apply artistic filters, insert customizable captions, remove unwanted objects, replace the background, transform the frame or orientation, or touch up portraits.
Although it may sound daunting to edit your photos in so many ways, the intuitive nature of Movavi Photo Editor will make it as painless as possible. When you are satisfied, all that remains is to click on the ‘Save’ button to save the photo that you edited on your hard drive.

At the end of the day it shouldn’t take you long to acquaint yourself with the features in Movavi Photo Editor and apply them to your photos. Once you do you’ll be able to do far more than fix any of your blurry photos, and the only limit will be how far your creativity can stretch.


